
CodeIgniter Student Management System
$59
v1.4.1 · 2026-04-10
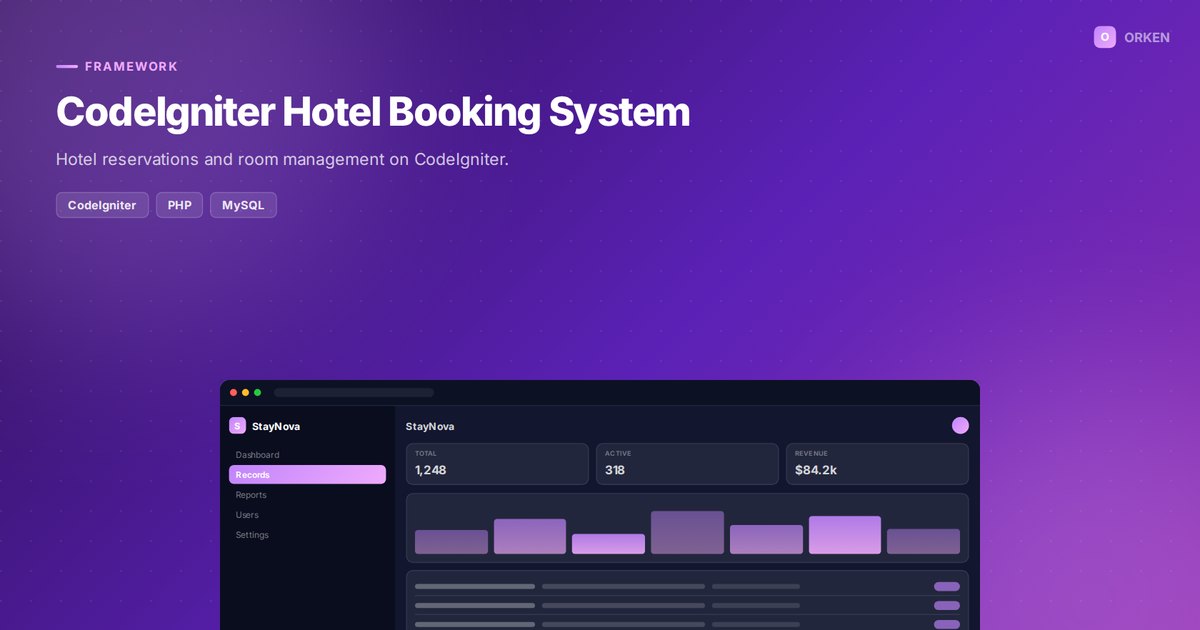
Hotel reservations and room management on CodeIgniter.
CodeIgniter Hotel Booking System is a complete, ready-to-deploy web application built with CodeIgniter, PHP, MySQL. Hotel reservations and room management on CodeIgniter.
The application ships as a self-contained package: the full source code, a database.sql file
containing the schema and starter data, and a documented installation procedure. Once installed you can
rebrand it, extend it, or integrate it with your existing systems without restriction.
| Version | 1.1.0 |
| Updated | 2026-01-13 |
| Category | Framework & Specialized |
| Format | .zip |
| License | Single site |
Follow these nine steps to install CodeIgniter Hotel Booking System on your hosting account.
After payment is completed, the ZIP package becomes available on your downloads page and is also sent to your email address.
Extracting the archive produces the application files together with the database file.
Upload the extracted files to your web root — normally public_html on cPanel hosting or htdocs on a local XAMPP installation. You may use FTP or your hosting control panel's file manager.
codeigniter_hote_db.Open phpMyAdmin, select the database you just created, open the Import tab, choose the database.sql file from the extracted folder and click Go. A success message appears once all tables have been created.
upload_max_filesize and post_max_size in your PHP configuration, or import the file through the command line.Open application/config/database.php and enter the details created in step 4.
// application/config/database.php
$db_host = "localhost";
$db_name = "your_database_name";
$db_user = "your_database_user";
$db_pass = "your_database_password";
| Field | Description | Example |
|---|---|---|
| host | Database server address | localhost |
| name | Name of the database you created | codeigniter_hote_db |
| user | Database username | codeignite_user |
| password | Password assigned to that user | •••••••• |
Set write permissions (755, or 775 where required) on the uploads/ and cache/ directories so the application can store generated files.
Open your domain in a browser and log in using the default administrator credentials provided in README.txt. Change the default username and password immediately after your first login.
Open the user management section, create the accounts your organisation requires, and assign each account the appropriate role and permission level.
Every purchase includes 30 days of email support. Send us your order reference and a description of the issue.
Contact support| Component | Minimum | Recommended |
|---|---|---|
| PHP | 7.4 | 8.1 or newer |
| MySQL | 5.7 | 8.0 |
| Web server | Apache 2.4 | Apache 2.4 or Nginx |
| Disk space | 50 MB | 250 MB |
| Browser | Any modern browser | Chrome, Firefox, Safari, Edge |
mysqli or PDO, mbstring, gd, zip, fileinfo — all available by default on standard shared hosting accounts.
| Version | Date | Changes |
|---|---|---|
| 1.1.0 | 2026-01-13 | Performance improvements and minor interface refinements. |
| 1.1.0 | 2025-11-14 | Added export to CSV and improved validation on all forms. |
| 1.0.0 | 2025-08-02 | Initial public release. |


Schedule a live walkthrough with our team.